In This Article
- What is a load file?
- ESI and self-contained files
- Data processed to images (including previously produced data)
- Important load file column headers
- Compiling a list of files to create a load file
What is a load file?
A load file tells the Nextpoint processors which documents to import, where they are located, and how metadata should be applied.
The content for your load file comes from either an existing load file that must be converted, or from a manually generated directory listing of your files.
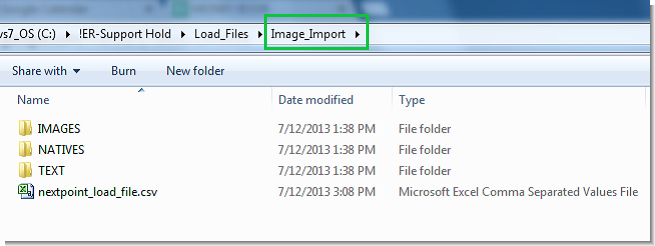
Modify your load file in Excel, then use Save As to save the file as a .csv. Your load file must be named nextpoint_load_file.csv for Nextpoint to recognize it during import.
A load file consists of two main components:
- Column headers — These correspond to document coding fields in your Nextpoint case.
- Coding values — These populate metadata for each document.
Each row in a load file represents a single document in Nextpoint.
Load files can be simple or complex depending on the structure of your data. Before creating a load file, identify which of the following data types you are importing:
- ESI and self-contained files — Emails, PSTs, PDFs, and other file types where each file represents one document
- Data processed to images — Single-page TIFF or JPG images assembled into documents using boundaries defined in a load file
ESI and Self-Contained Files
1. Which documents need to be imported, and where are they located?
Nextpoint must know which files to import and where they are located. This is accomplished using the image_file column header, which contains the file path and file name.
2. What title should Nextpoint assign to each document?
The document title or subject is set using the title column header.
To import a group of multi-page files, your load file must include the required column headers in Row 1, followed by coding values in subsequent rows. The example below shows the minimum required commands for importing six documents:
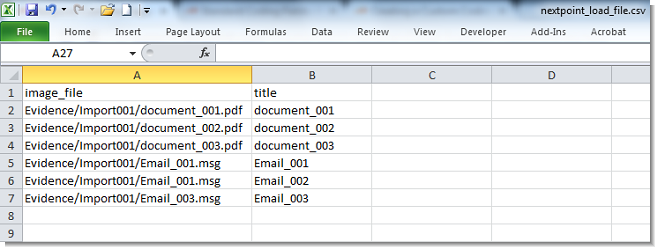
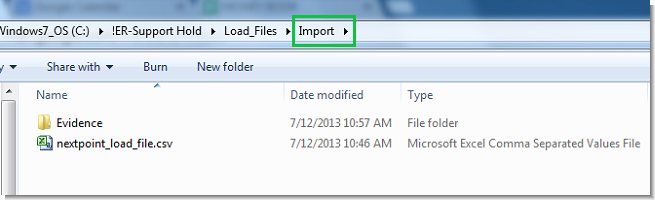
Save the load file in the same location as the Evidence folder. When you upload the folder, the path information in the image_file column tells Nextpoint where to locate each file.
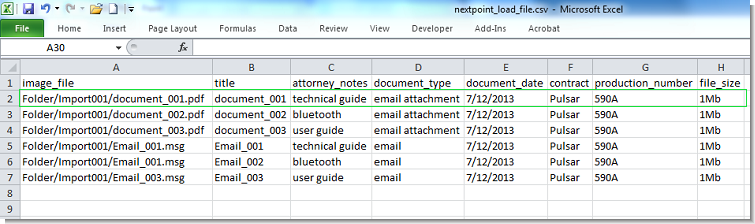
You may include additional coding columns in your load file. To map metadata during import, corresponding coding fields must already exist in your Nextpoint database.
The following standard fields do not need to be created manually:
- Bates
- Shortcut
- Author
- Document Type
- Title
- Document Date
* These fields must still be included in the load file if you want to populate them during import.
Below is an example load file with additional coding and how the first document appears after import:

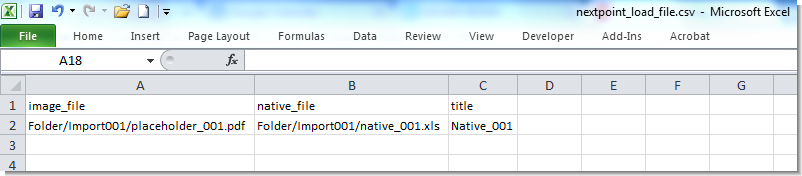
3. Loading native files with a placeholder image
To load native files with a placeholder image, include the placeholder file in the image_file column and the original file in the native_file column.
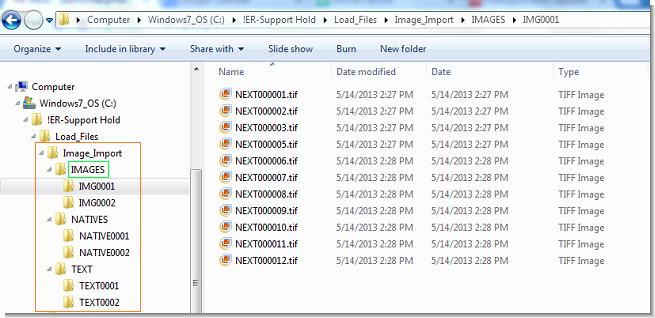
Data Processed to Images (Including Previously Produced Data)
This type of data set contains up to three folders. At minimum, an IMAGES folder is required:
- IMAGES — Single-page image files
- TEXT — OCR text files
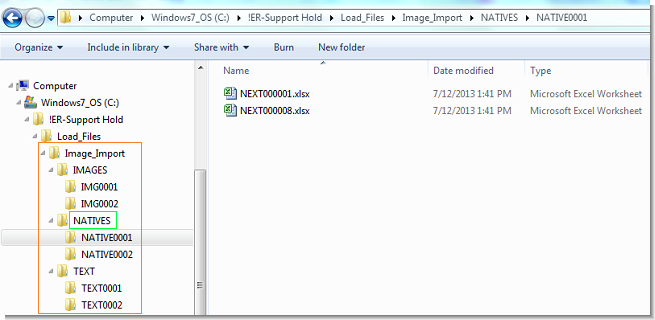
- NATIVES — Associated native files
Image files are typically named using Bates numbers. OCR text and native files follow the same naming convention when included.

Because this structure is consistent, Nextpoint provides automation to simplify load file creation.
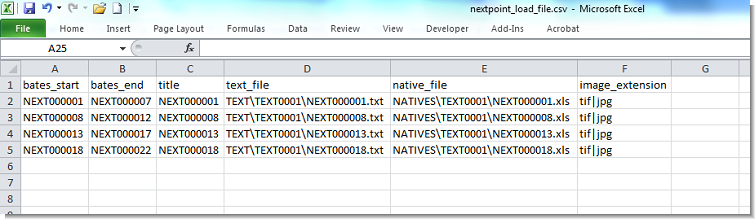
1. Identifying document boundaries
Use bates_start and bates_end to define page ranges and assign Bates values automatically.
2. Assigning document titles
Use the title column header.
3. Associating OCR text
Use the text_file column to identify the OCR text file for each document.
4. Associating native files
Use the native_file column to attach native files where applicable.
5. Restricting image file extensions
To prevent OCR text files from being treated as images, include an image_extension column with the value tif|jpg.
Important Load File Column Headers
Compiling a List of Files to Create a Load File
To create a load file, you need a list of files and their folder paths. The instructions below explain how to generate this list.
Windows
1. Right-click the root folder and select Open Command Window Here.
2. Enter the following command: dir /b /s /a-d list.txt

Mac
1. Open Terminal.
2. Type "find " (include the space), then drag the folder into the window.
3. Copy the output into a text editor and format it as needed for your load file.
Comments
Article is closed for comments.