Which database type should I follow?
If you see the
badge next to your database name, follow the
NextGen tab below. Otherwise, switch to the
Legacy tab.
Exhibit Stamp Template
The Exhibit Stamp Template screen allows you to customize how exhibit stamps appear on documents. You can control the stamp’s structure, content, placement, and color, with a live preview showing how your changes will look.
Use the Structure section to design the layout of your exhibit stamp. You can include up to four rows of content.
Each row may include:
- Plain text (for example, Exhibit)
- Special characters
- Dynamic placeholders
Available placeholders:
- %F — Folder name
- %f — Folder prefix
- %e — Exhibit number
To modify the stamp structure:
- Enter text or placeholders into each row field.
- Click Add row to include an additional line (up to four total).
- Click Remove to delete a row.
- Use the drag handle to reorder rows.
The Preview panel updates automatically to show how the exhibit stamp will appear on a document based on your current settings.
Use the Settings section to control the default placement and appearance of the stamp.
- Vertical Placement — Choose where the stamp appears vertically (Top or Bottom).
- Horizontal Placement — Choose where the stamp appears horizontally (Left, Center, or Right).
- Color — Select whether the stamp appears in white or uses the folder’s assigned color.
You can reposition the stamp on individual documents after it has been applied.
- Click Update to save your changes.
- Click Cancel to discard changes and exit without updating the template.
Start by going to MORE > Settings.
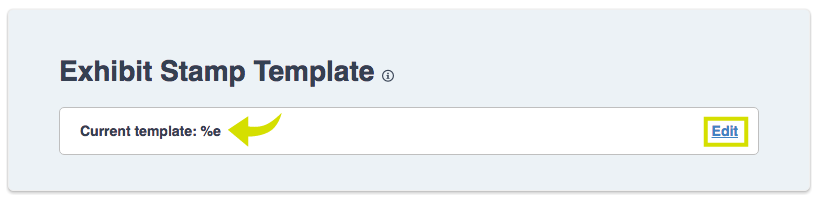
Exhibit Stamp Template
Nextpoint exhibit stamps include three rows of information, each serving a specific purpose.
Stamp Row Structure
- Row 1 — Displays the name of the folder from which you are stamping (for example, DEFENSE).
- Row 2 — Displays the word EXHIBIT.
- Row 3 — Customizable row that can include placeholders and freeform text. The exhibit number (%e) must be included in this row.
Available Placeholders
- %F — Folder name
- %f — Folder prefix
- %e — Exhibit number
Example
Including the placeholders %f-%e in the third row would result in a stamp similar to the example shown when applied to the first exhibit in the Defense folder.
Updating the Third Row
To change the third row of the stamp, select one of the common placeholder options or enter your own combination of placeholders and freeform text (for example, adding a court docket number).
Return to Litigation Workflow
Comments
Article is closed for comments.