To create your trial exhibit list, first create a folder in which you will organize your exhibits.
To build your trial exhibit list document-by-document:
When viewing a document, open the Related Folders drop-down list.
- The gray folders listed indicates that the document is already a part of that folder set.
- Clicking the pencil icon will allow you to make edits.
Click the dropdown menu to choose another folder you'd like to add to related.
You can enter the Exhibit Number by clicking the pencil icon. If you leave it blank, the next available number will be used.
You can also enter Offered and Admitted dates, as well as any Notes for the exhibit.
When you are done, click "OK" and then Save. Your document is now a part of the exhibit set.
Export and Download your Exhibit List
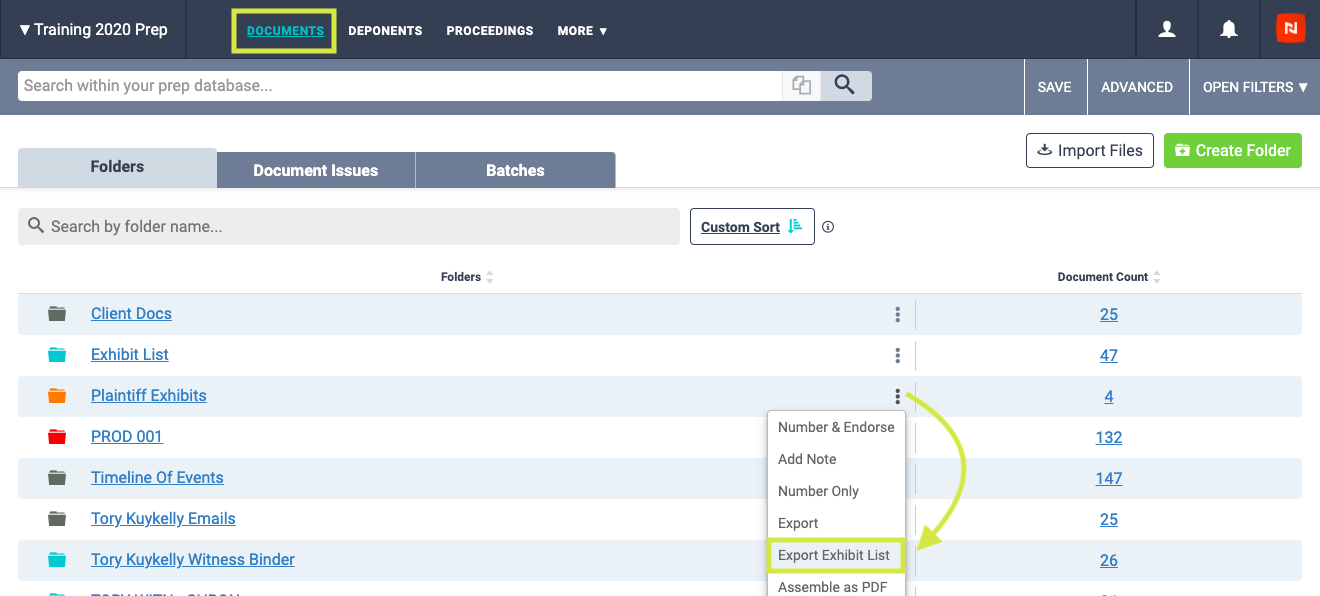
To quickly download a trial exhibit list, go back to the main Documents tab and select Export Exhibit List from the dropdown menu next to the Folder containing the trial exhibit list you wish to download.
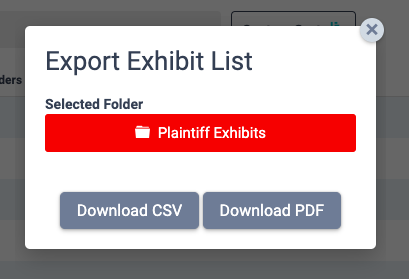
Choose whether you would like to Download CSV or Download PDF.
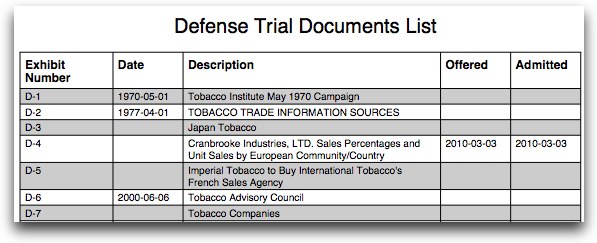
You will be able to download an exhibit list like the one below.
If you wish to add multiple documents to your exhibit list at the same time, click here to learn how.
When you are ready to stamp your trial exhibits, click here to learn how.
Return to Litigation Workflow
Comments
Article is closed for comments.